Visit Us On:
Opening Photoshop to apply a quick filter is overkill. You just want to make your photo pop - brighten the shadows, add some warmth, maybe throw a vintage filter on it. But pulling out a $50/month subscription for a 30-second edit? No thanks.
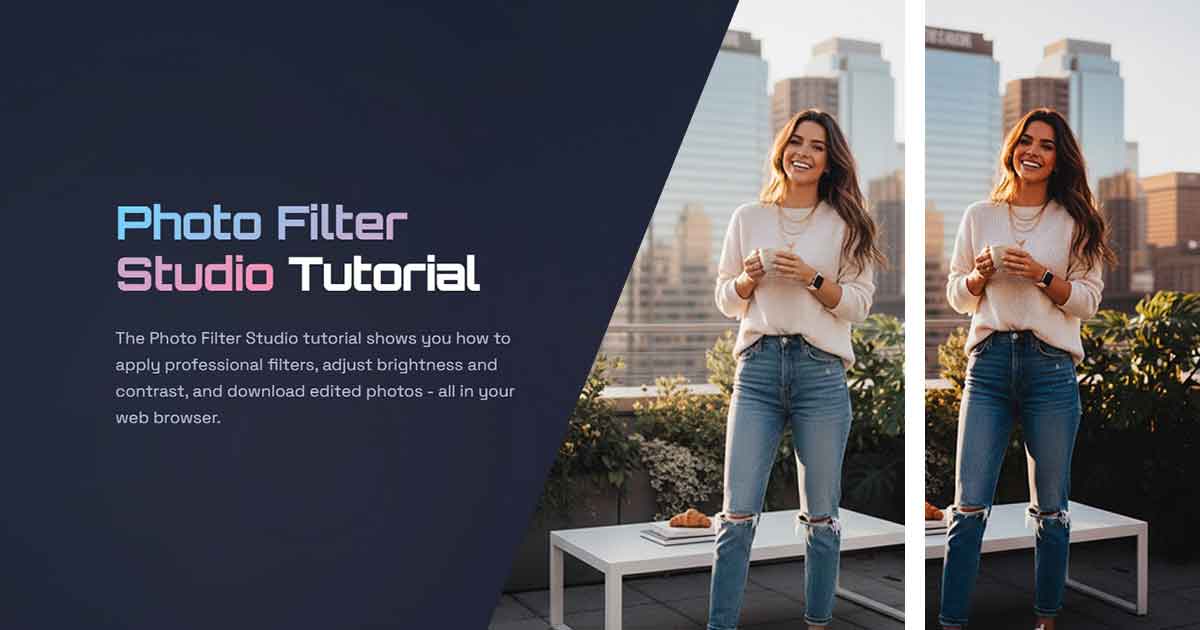
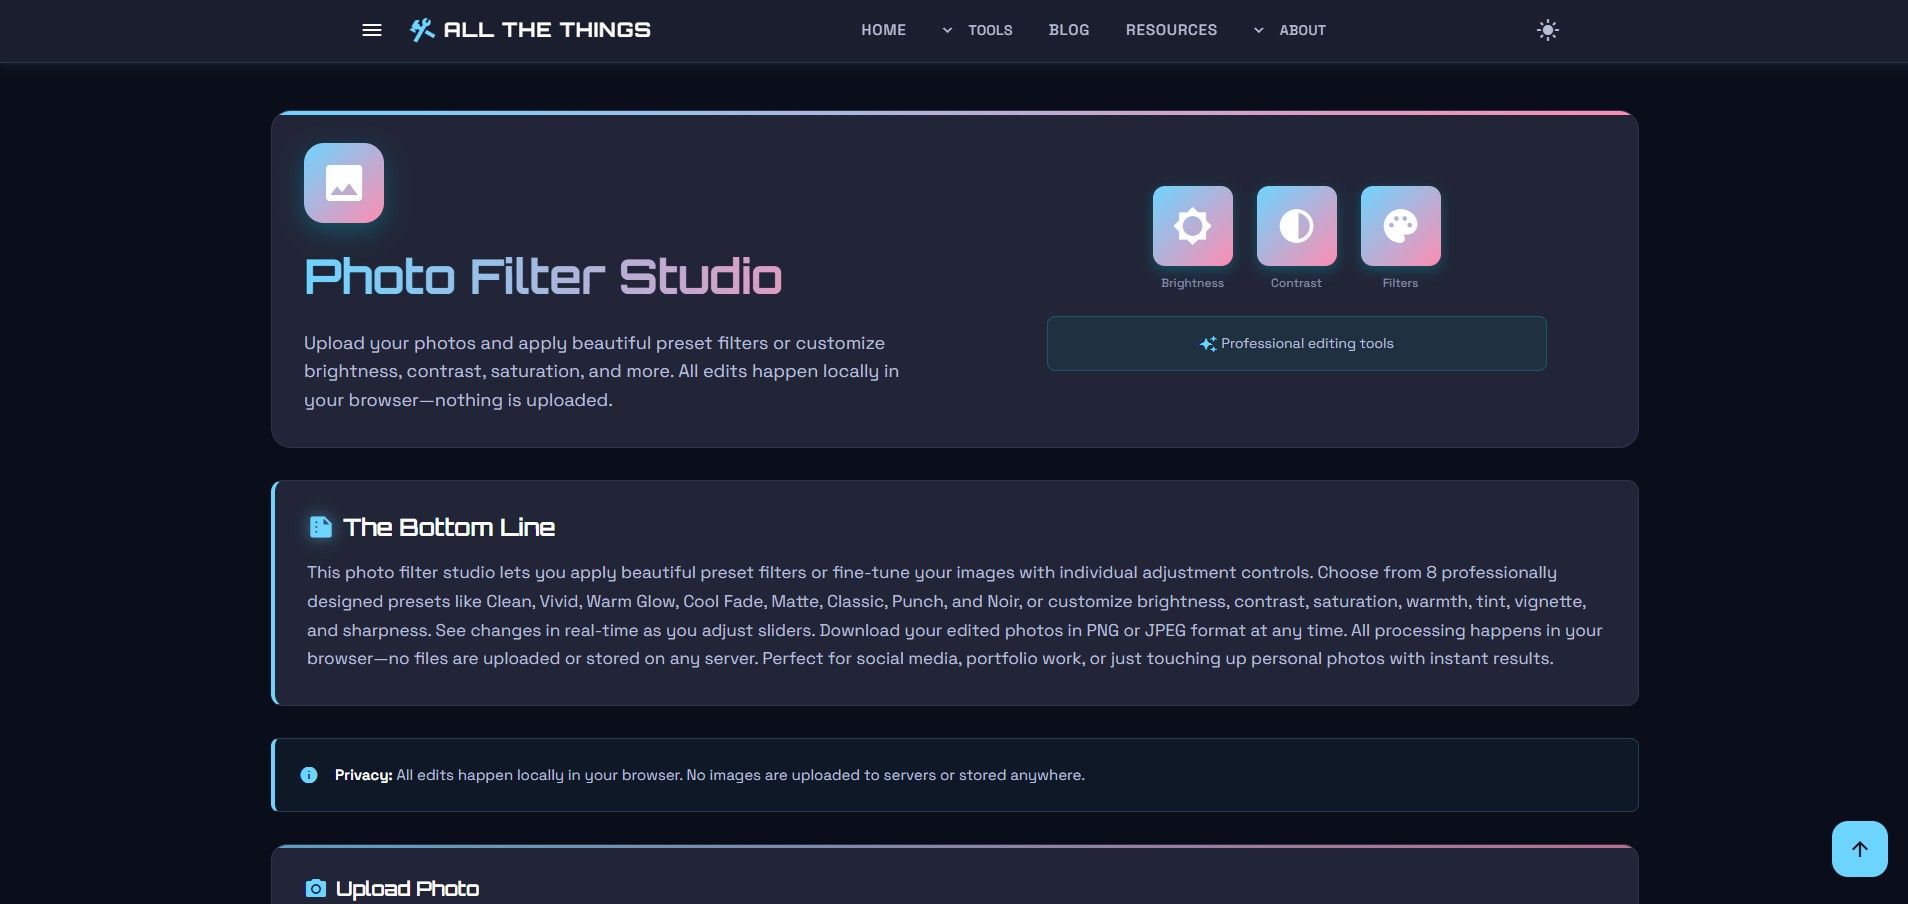
The Photo Filter Studio gives you professional-grade photo editing without the bloat. Eight preset filters, eight adjustment sliders, real-time preview on a canvas. Everything processes locally in your browser - your photos never touch a server, never get uploaded, never get stored. What you see is what you download.
Here's the complete tutorial.
Step 1: Upload Your Photo
Hit the upload button or drag a photo directly onto the canvas. The Photo Filter Studio accepts JPG, PNG, and most common image formats. Your photo loads instantly - no upload progress bars, no waiting for server processing.
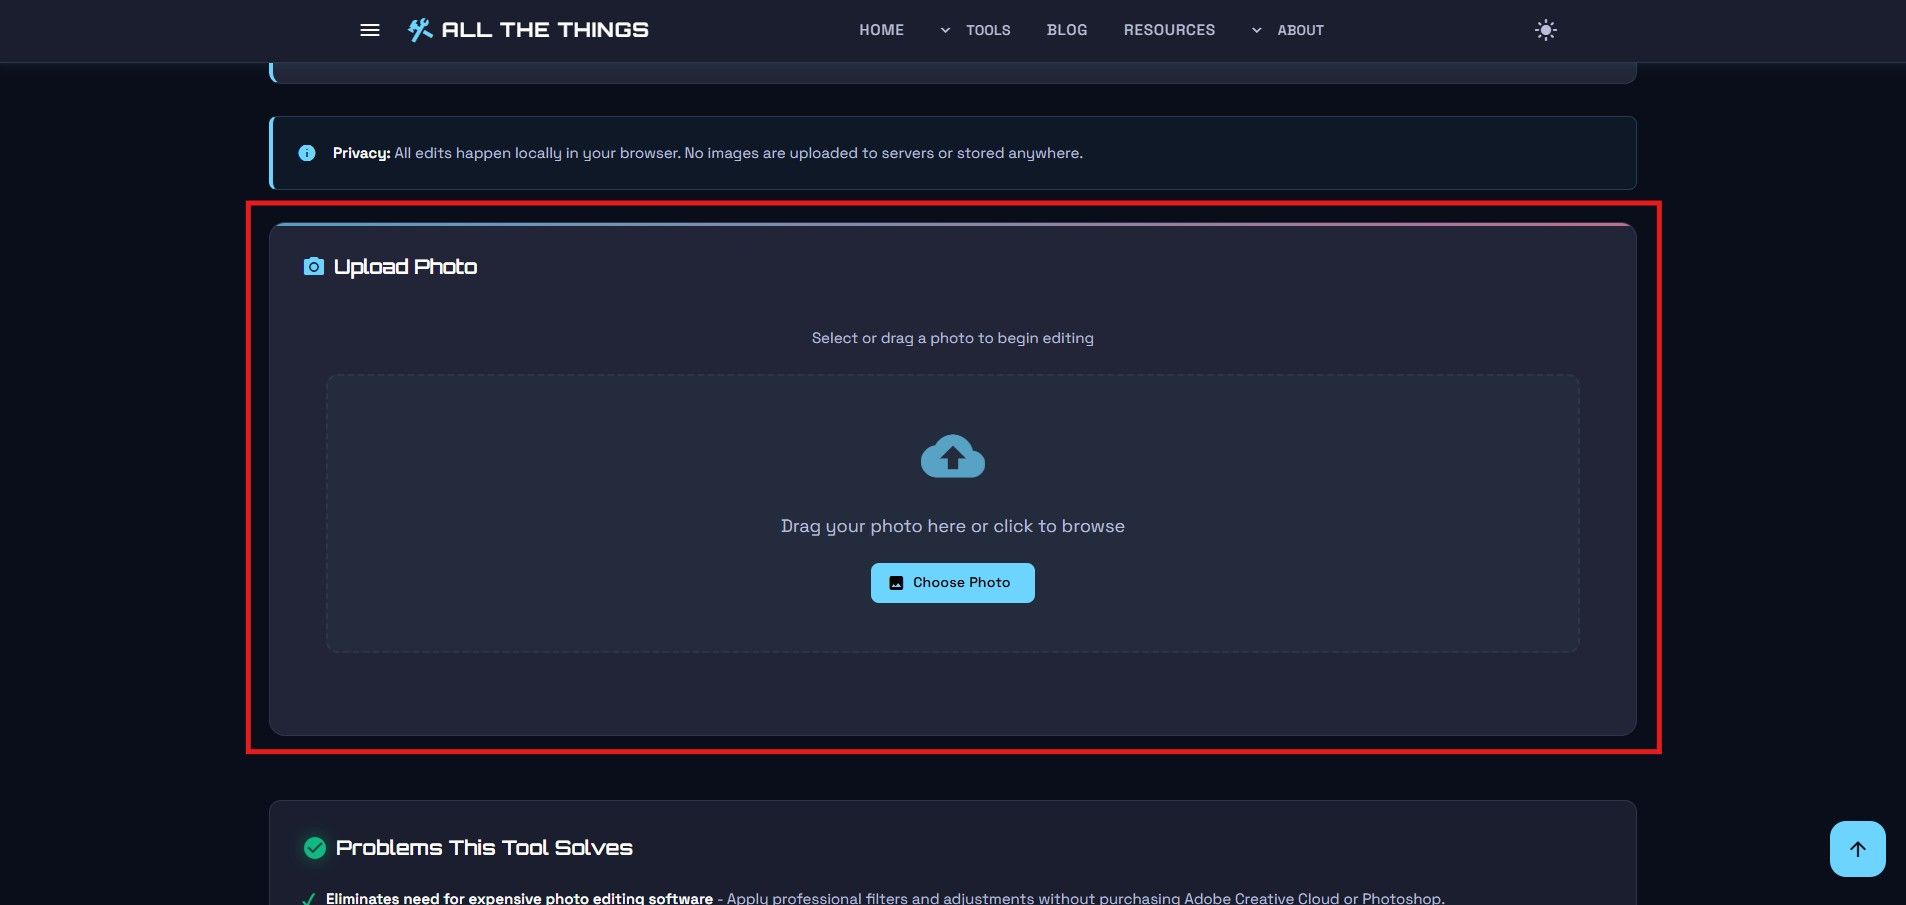
Because everything runs client-side, large photos load fast. A 10MB image from your DSLR? No problem. The tool handles it without choking. And again - nothing leaves your machine. Privacy by design.
Information
Pro tip: Your photos never leave your device. All image processing happens locally in your browser using HTML5 canvas technology - no uploads, no cloud storage, no privacy concerns.
Step 2: Choose a Preset Filter
At the top of the editor, you'll see eight professionally designed preset filters. Each one is crafted for a specific look - not the generic Instagram knockoffs you see everywhere else.
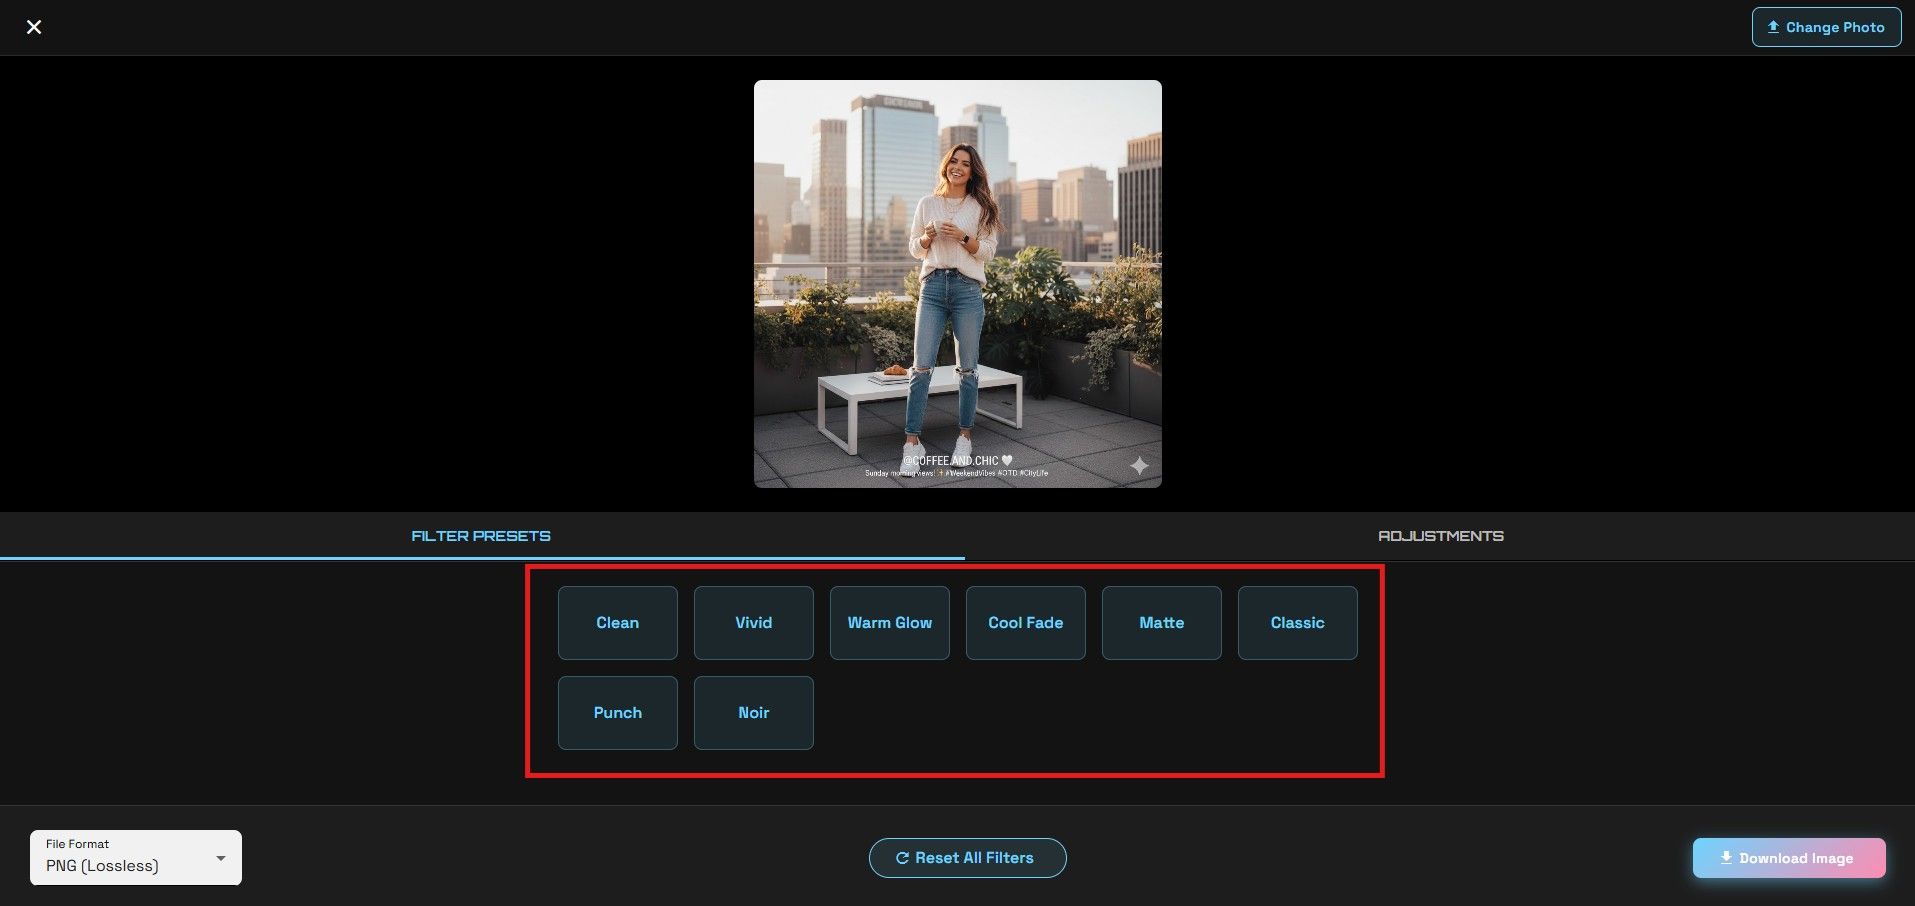
Here's what each filter does:
- Clean – Subtle clarity boost without oversaturating
- Vivid – Pumps up saturation and contrast for bold colors
- Warm Glow – Adds golden hour warmth to your photos
- Cool Fade – Desaturates slightly with cool blue tones
- Matte – Film-like flat contrast for that modern muted look
- Classic – Timeless vintage filter with rich tones
- Punch – Aggressive contrast and saturation for dramatic impact
- Noir – Black and white with deep shadows and bright highlights
Click a filter. The preview updates instantly. No loading spinner. No delay. Just immediate visual feedback on a full-size canvas so you can actually see what you're doing.
Information
Filters are applied non-destructively. You can switch between filters anytime without losing quality or having to re-upload your original photo.
Step 3: Fine-Tune with Adjustment Sliders
Below the preset filters, you'll find eight adjustment sliders. These give you granular control over every aspect of your photo. Preset filters are a starting point - these sliders let you dial in exactly the look you want.
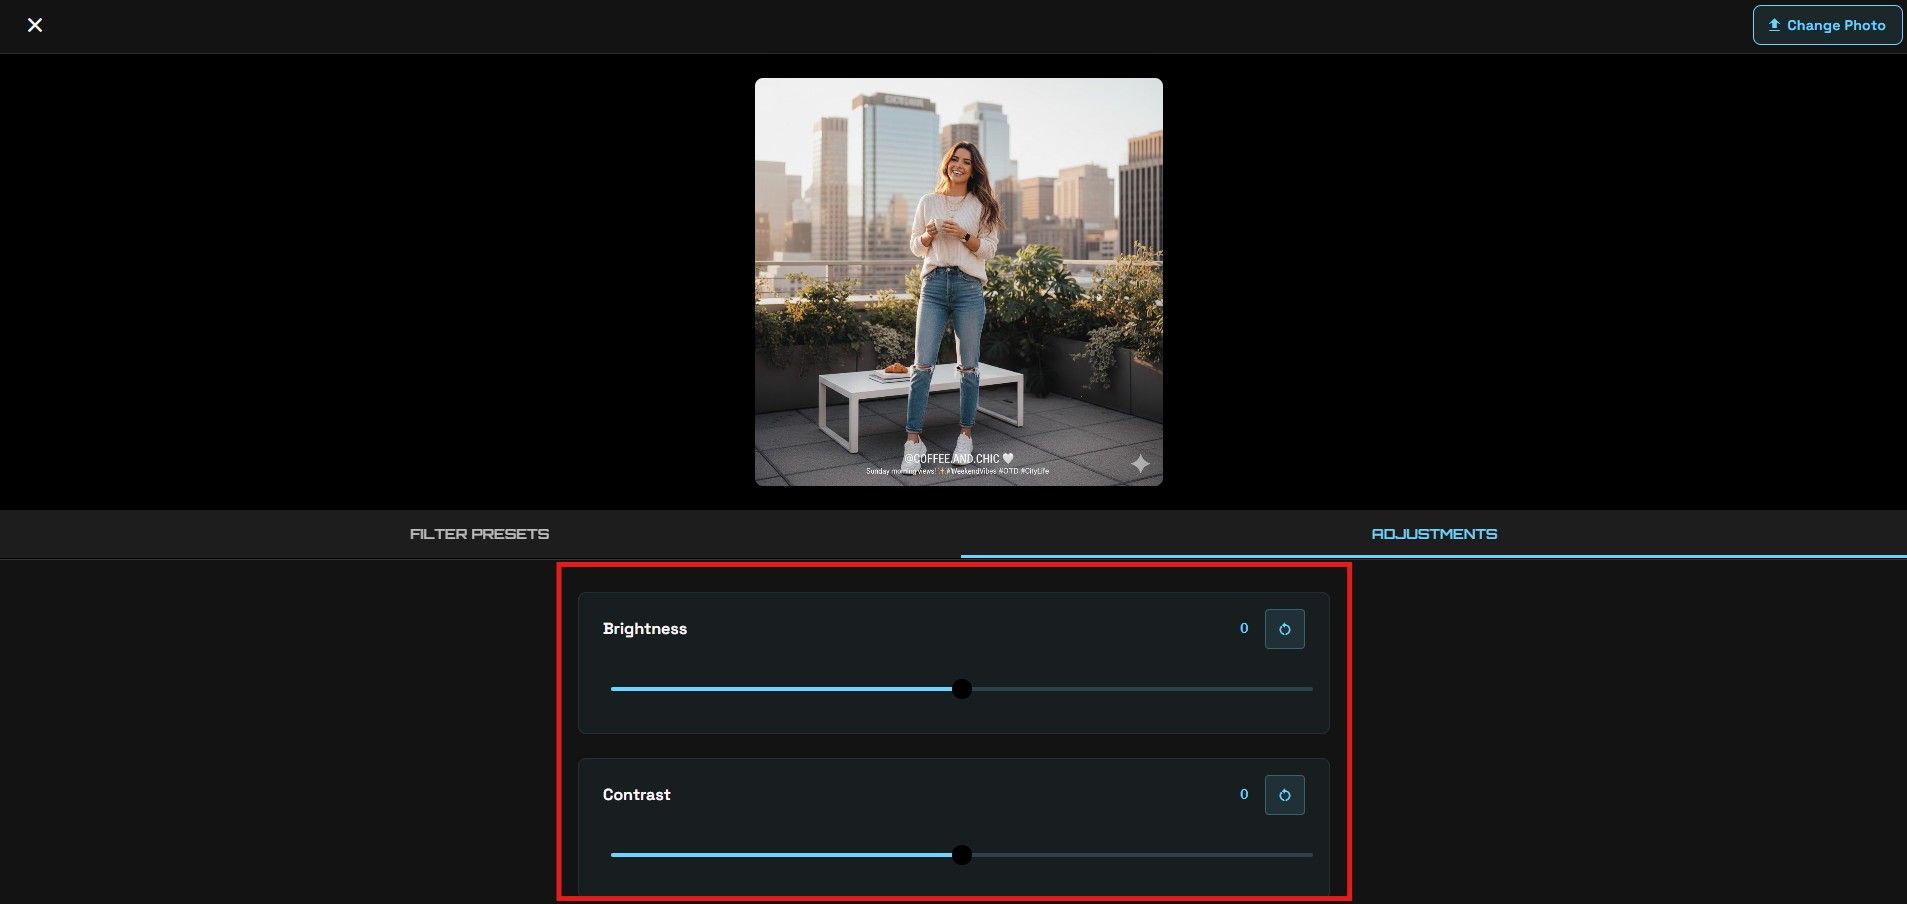
Here are your adjustment options:
- Brightness – Lighten or darken the overall exposure
- Contrast – Adjust the difference between light and dark areas
- Saturation – Control color intensity from black-and-white to vivid
- Warmth – Shift colors toward orange (warm) or blue (cool)
- Tint – Add green or magenta color casts
- Vignette – Darken the edges to draw focus to the center
- Sharpness – Enhance edge definition for crisper details
- Exposure – Fine-tune overall brightness with professional precision
Every slider updates the preview in real-time. Drag the brightness slider and watch your photo respond instantly. No apply button. No render time. Just smooth, responsive editing.
Step 4: Preview Your Changes
The canvas preview shows your edits at full resolution. No tiny thumbnail you have to squint at. You see exactly what your final image will look like - every adjustment, every filter, rendered in real-time.

Want to compare before and after? There's a toggle for that. Click "Show Original" to see your unedited photo, then switch back to see your changes. Helps you gauge whether you're improving the photo or just moving sliders around for no reason.
Information
The before/after toggle is instant. Use it frequently while editing to make sure your adjustments are actually improving the photo, not just making it different.
Step 5: Download Your Edited Photo
Happy with your edit? Hit the download button. The Photo Filter Studio gives you format options - PNG for lossless quality or JPEG with adjustable compression.
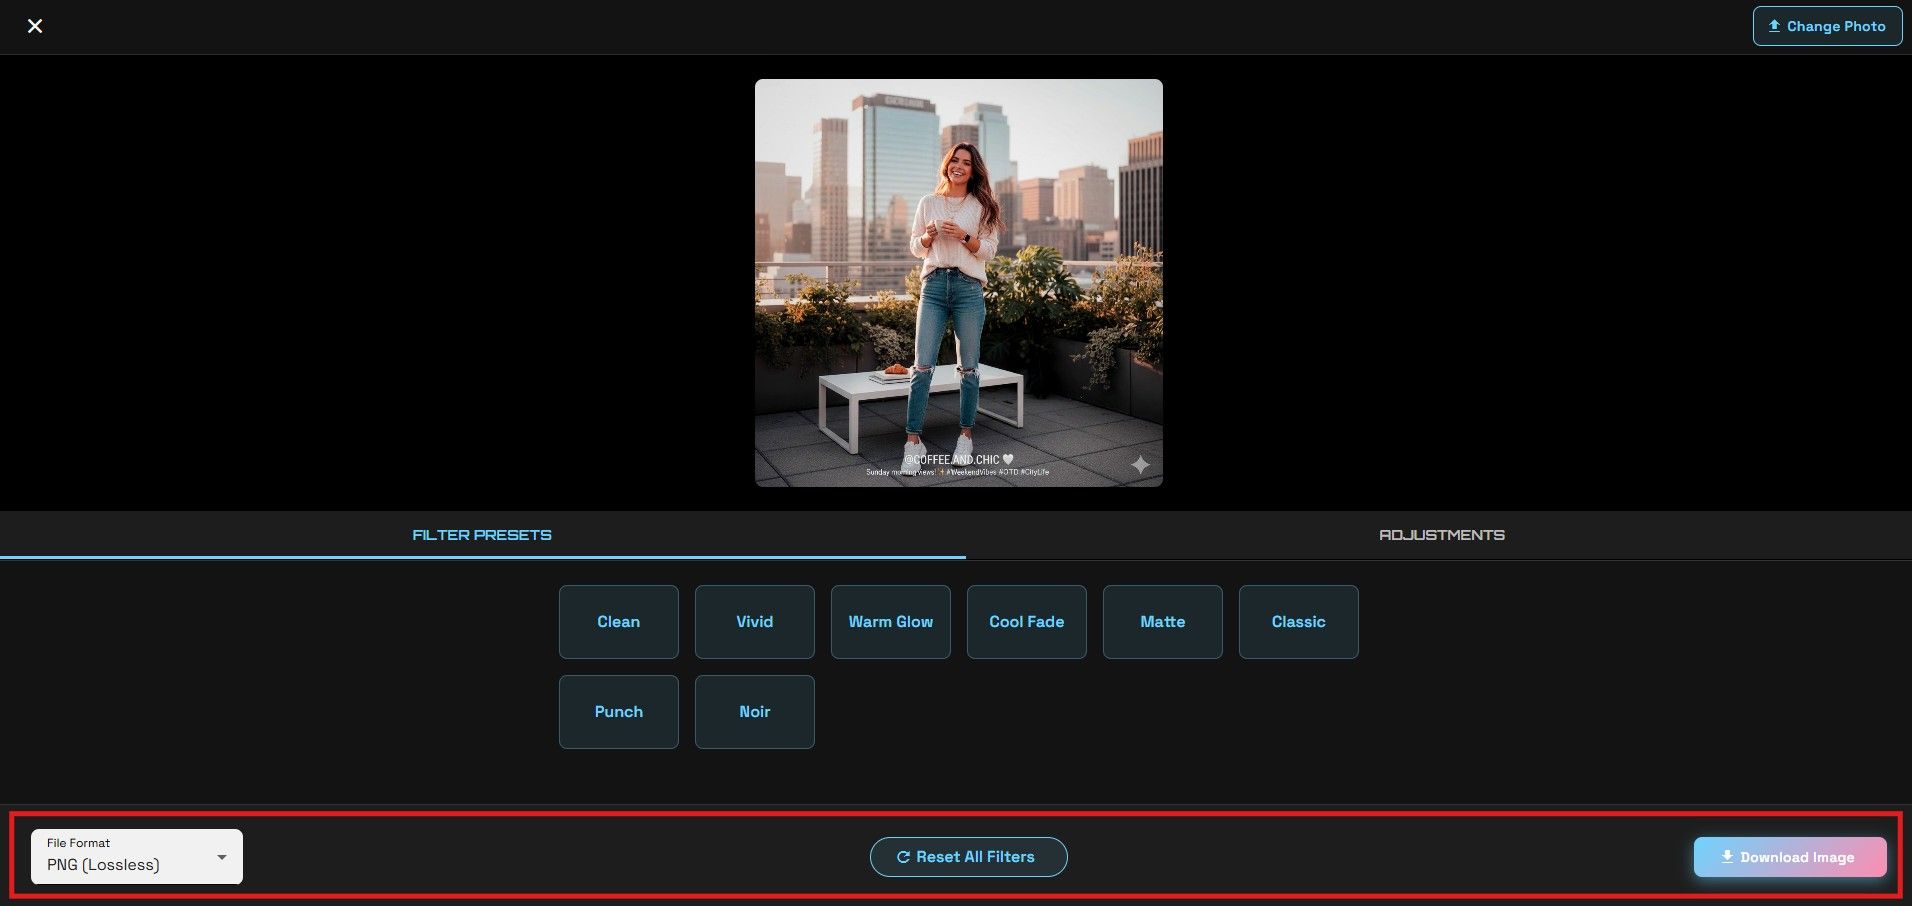
JPEG gives you a quality slider. Crank it up to 100 for maximum quality at the cost of file size, or dial it down to 70-80 for a good balance between quality and file size. PNG gives you lossless quality but larger files - useful when you need perfect detail preservation.
Click download. The file saves to your default downloads folder. No account required. No watermarks. No upsell popups begging you to upgrade to premium. Just your edited photo.
Why Use This Over Photoshop or Lightroom?
Speed and simplicity. Photoshop is a nuclear weapon when you need a flyswatter. Opening it, waiting for it to load, navigating through menus - all that takes longer than the actual edit. The Photo Filter Studio loads in your browser instantly. No installation. No subscription. No learning curve.
Plus, privacy. Cloud-based photo editors upload your images to their servers. They promise not to keep them, but you're trusting their word. Here, your photos never leave your machine. The entire editing process happens client-side. Zero trust required.
And it's free. No trial period. No feature limits. No "upgrade to unlock sharpness slider" nonsense. Everything works. Always.
Information
This tool works offline once loaded. Edit photos on a plane, in a coffee shop with spotty WiFi, or anywhere without an internet connection. Your edits stay on your device.
Common Use Cases
Here are some practical scenarios where the Photo Filter Studio shines:
- Social media posts - Quick edits for Instagram, Twitter, or Facebook without opening heavyweight software
- Blog images - Apply consistent filters to maintain visual coherence across your website
- Product photos - Brighten and sharpen product shots for better e-commerce listings
- Profile pictures - Touch up portraits with subtle adjustments before uploading
- Real estate photos - Make rooms look brighter and more inviting with warmth and exposure tweaks
- Event photography - Batch similar edits across multiple photos from the same shoot
These aren't professional retouching jobs - this is for everyday photo enhancement. Making good photos better. That's the sweet spot.
Try the Tool Yourself
If you're tired of subscription photo editors or installing bloated software for simple edits, give the Photo Filter Studio a try. This tutorial covered all the basics, but the best way to learn is by experimenting with your own photos. No account needed. No uploads. Just drag, edit, download.
Visit Us On:
Stay in the Loop
Get notified when we add new tools and features
Thank You!
You're all set. We'll keep you updated with the latest tools and features.